
How To : Long & Extra Cape
So many occasions to wear a beautiful cape... a bride and her wedding... a cosplay for Comicon or Renaissance... casual wear on snowy days... around the house to play superhero with the kids...
So many fun and exciting times to be made...
Remember: Make sewing fun and understand that you can adventure off the printed instruction and guide. The information in the downloadable document is how I have built this beautiful cape, not how you have to. Make the project your own and learn new ways, tactics, and experiments!
Have fun with it!
What You Will Need:
- Sewing Machine (For best results, a machine that can do straight and zig zag)
- Needle (size depending on the fabric used)
- Thread (size depending on the fabric used)
- Cloth
- Lining cloth
- Interfacing
- Printer
- Template
- Tape
- Scissors
- Iron
- Sewing chalk
- Rotary Cutter (Amazing for multi-layer cutting)
- Self-healing Cutting Mat (Use if you are using a rotary cutter)
- Pins/clips
Research
There are a couple things that I would recommend researching prior to the assembly. This is only a recommendation and can be completely ignored if you would like. :)
- Best ways to cut fur and faux fur - if you are using fur or faux fur check out YouTube or online for the best ways to cut the pieces. Know that there will be a lot of cleanup, and I recommend wearing a face mask, especially if you have any general allergies.
- Catch stitch - starting this can be a little tricky, but after you grasp the general comprehension, it will be useful, you will also become efficient with practice. Understand starting the process will be slower, and that's okay; you want it to look good. :)
- Ladder stitch - after learning this sewing stitch you will use it in many projects and will be very happy you know how.
Printing
Pattern page scaling set to none (page at 100%).
Where to get cape PDF pattern
Print page 1 to confirm scale; print remainder of design.
Assemble pieces.
Prepare Fabric

Wash, dry and press fabric.
Ensure grainlines are correct for pieces (fabric is the correct orientation for the pattern). This is very important and can save you a major headache further down the line of the project.
Cut all pieces per instructions and design.
Mark right and wrong sides of fabric; if needed
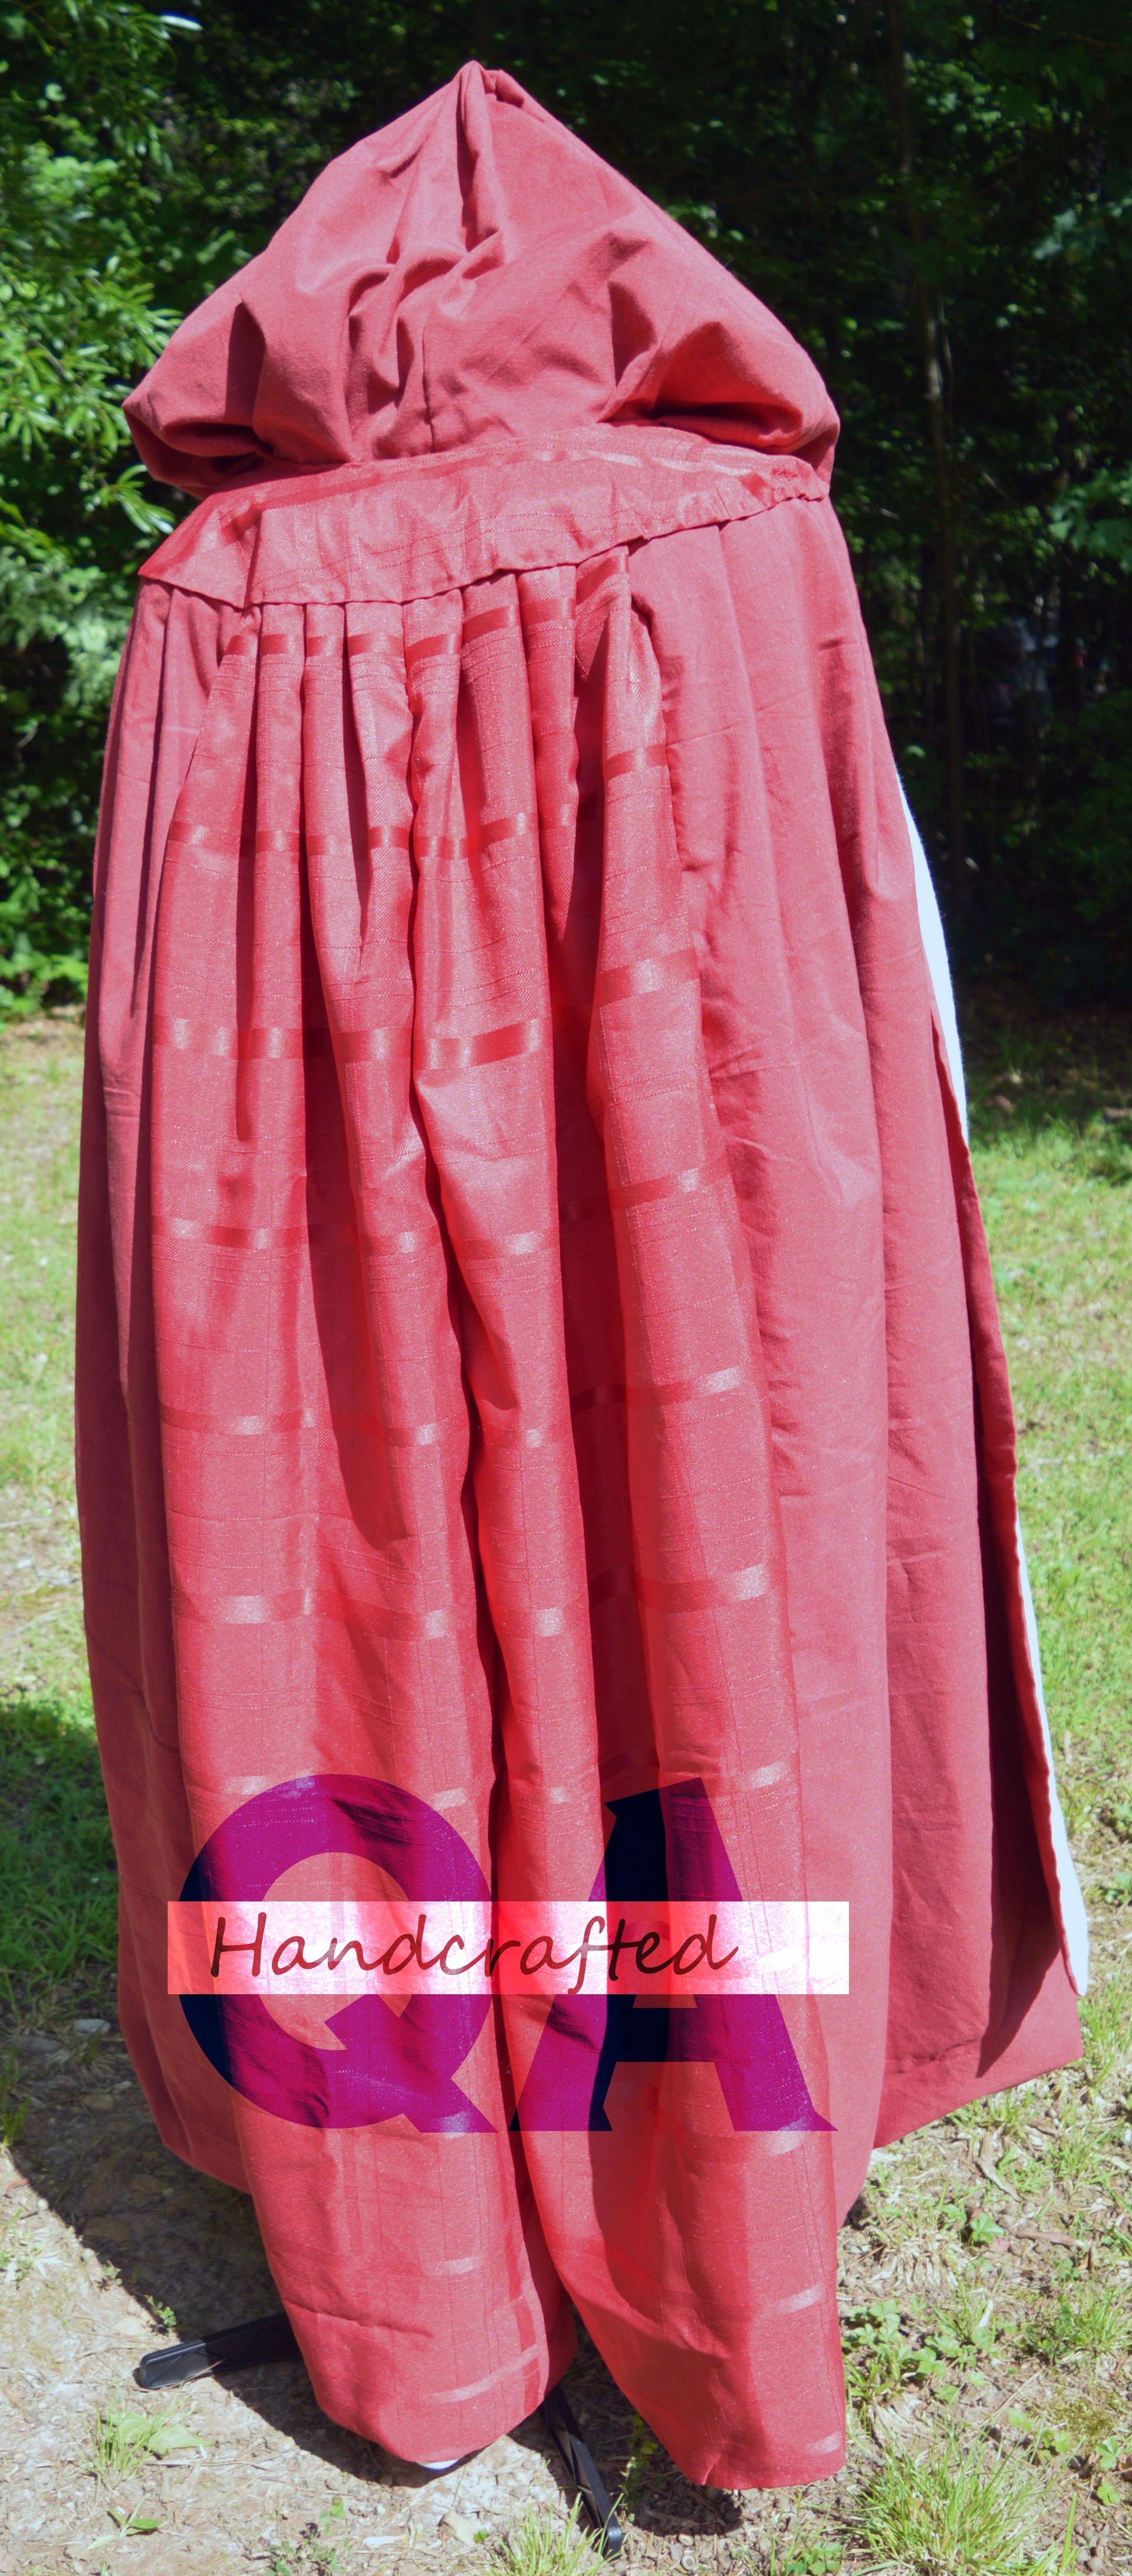
Cloak Pieces

Sew sides C together at center seam lines referenced on design.
Combine all sides and sew in order of A,B,C,C,B,A. Repeat the same sewing steps for lining.
Sew from bottom to top with each piece; this will help when there is extra length, salvage will end up always at the neck and able to be cut away.
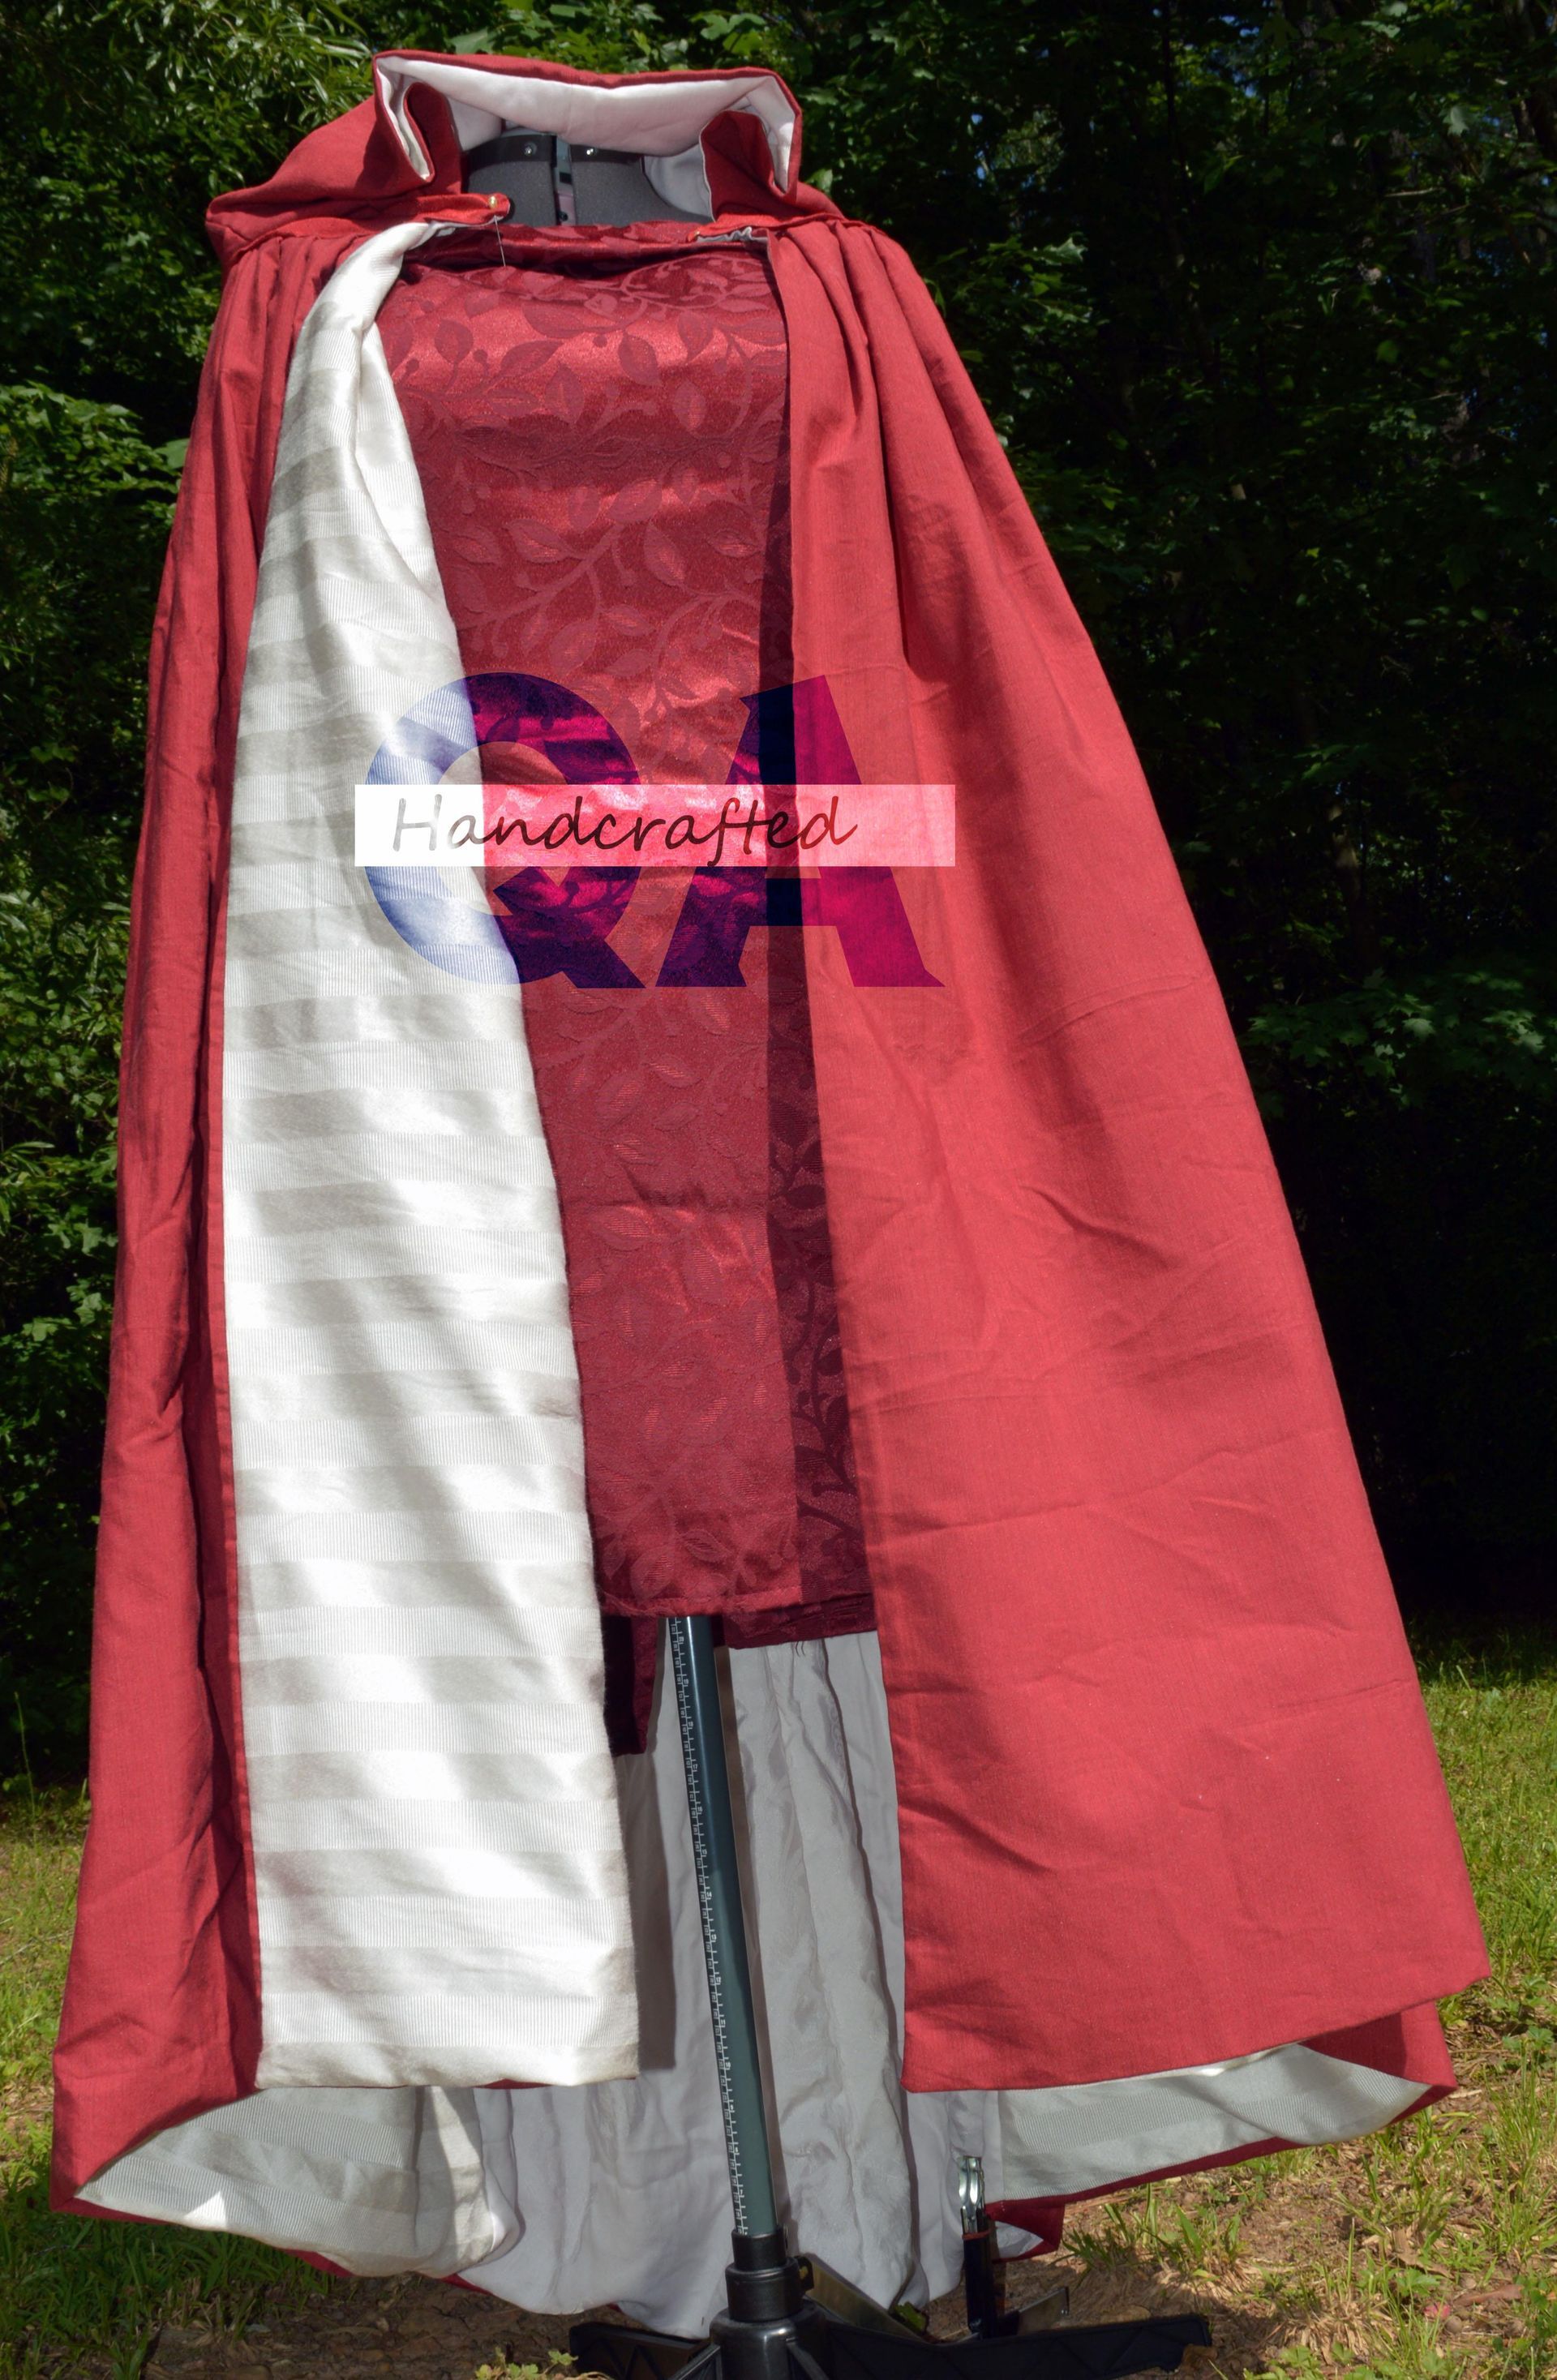
Hood
Pin RIGHT sides together and sew.
Repeat for lining.
(IN REGARDS to fur trim oncape locate ‘Cape Fur Trim’ below)
Pin front edge of RIGHT sides of lining and face together while matching seams.
Sew lining and face together.
Turn RIGHT side out and press.
The bottom of the hood can also be closed with a serger for easier basting and sewing while ‘putting it all together’
Yoke

Iron and pin interfacing to the WRONG side of yoke pieces. Clip and notch yoke, press, flatten front facing corners, use catch stitches (reference next page). Repeat for lining.
Mark interfacing on the lining of the yolk, where squares are located from design, for matching on the next step.
Put it all together
Baste the upper portion of the cape (recommended by hand) using a heavy gauge thread. Baste ¼” from the top and approximately every ½” while basting across.
Match the center back of the cape with the center rear of the yoke. Match and pin seam locations to other squares marked on the yolk. With heavy gauge thread, use tight and fit stitches to hand sew the cape to the yolk.
(Option #2: pin the cape at the desired location on the yolk, hold the cape to the yolk, and sew.)
Using a heavy garage thread baste the bottom of the hood and pin to the yolk keeping 1½” on both front sides of the hood straight and gather past that point (notated on hood design).
Match the center back of the hood with the center top of the yolk. Pin the remainder evenly along the hood and yolk. With heavy gauge thread, use tight and fit stitches to hand sew the hood to the yolk.
Pin face yolk, wrong sides together, with lining yolk, and use a catch stitch.
Sew your choice of closures onto the ends of the yolk sides and Enjoy!


EXTRA... Cape Fur Trim

Recommended to research best ways to cut fur and faux fur for best results.
Google and YouTube are your friends.
Cut fur into strips for the length of the garment pieces (cape and hood), cut as thick or as thin as desired. Sew strips together to achieve total length.
Fold the trim in half, wrong sides together, and sew to close.
Trim is placed between the RIGHT sides of the lining and fabric face.
Pin or clip the THREE pieces together and sew with thick gauge thread (recommend a zigzag stitch).
Turn the RIGHT side out.
If you choose for the trim to lay flat, top stitch.
EXTRA... Pockets
Patterns for pockets are included. Pockets can be sewn into the lining of the cape.
Pin the RIGHT side of pockets to both RIGHT sides A and sides B of the lining.
Sew pocket pieces to lining cloak pieces.
Press pocket pieces away from the cape.
Pin and sew sides A to sides B while also sewing together the sides pocket pieces.


View more
...
Feel free to check out our Etsy shop... soon to come with product designs and basic instructions for download!
Etsy